Thursday, April 26, 2012

Gelli Plate Prints -- Overprinting


I can't tell you how excited I am about these gelli plate prints. Boundless energy and excitement! Whoo Hoo!! I have more samples to share with you and these involve overprinting, the process  of painting or stamping or stenciling over the top of images already made. Some may be the result of recycling pieces you weren't so fond of, or pieces that "just need a little extra" or even your favorite pieces you like so much you want to experiment with more. I did have a chemistry set as a child,I think I'm harkening back to those days. I want to play more and more often and with more stuff. Can you relate?

I like to let these pieces just evolve. Here are a few examples...
Sherrill Kahn stamps and a goddess stamp on right
This piece features limes and turquoises added over a piece I did yesterday. It has Sherrill Kahn stamps, I love her work. It can be seen at www.impressmenow.com/. Several years ago I was fortunate enough to take a 5-day workshop with Sherrill in Sedona where i learned many of her techniques. 
Can you see the crack in the plate on the print?


These pieces too have been overprinted to achieve a more abstract effect. Can you see the cracks in the plates? I'll leave it up to you to decide whether that is an effect you like or not. I think it depends on the piece. It doesn't bother me in either of these prints, but it was more obvious in the original piece and I want you to see how it can be camouflaged by working it into the over all design thus making a more successful final piece.
Watercolor wash applied over all
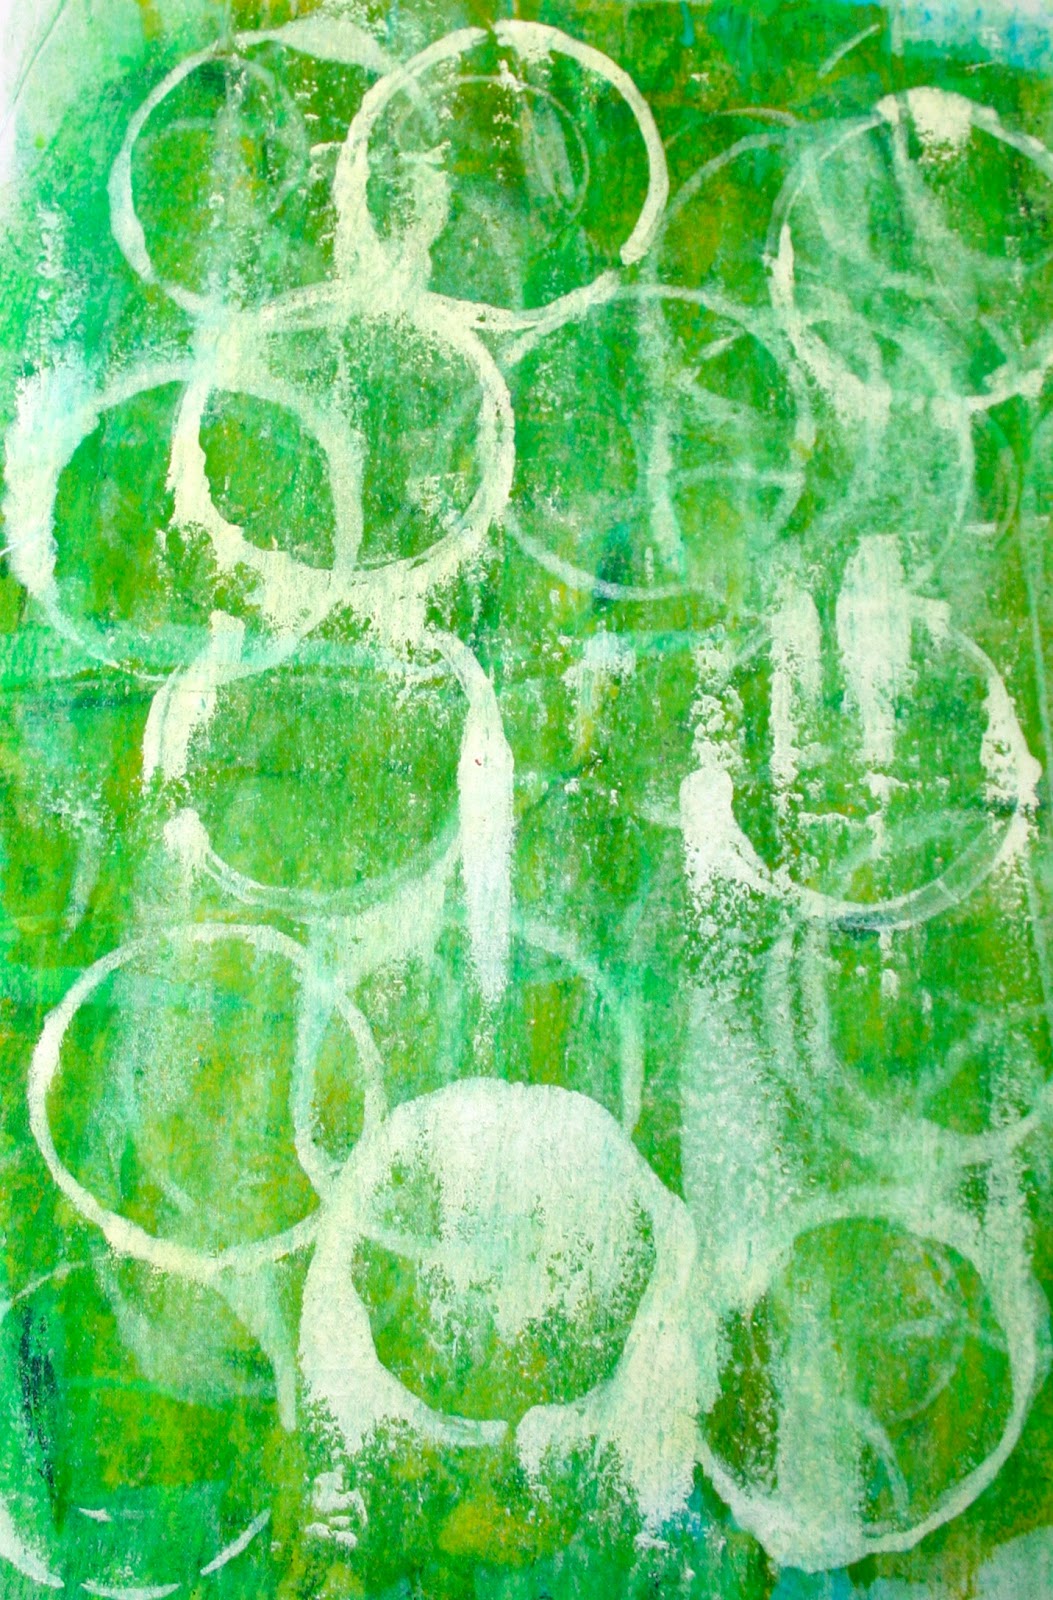
This green piece is one of my personal favorites. The base was a light limey green which I decided needed more definition. I added more circles using cookie cutters and stencils, many different shades and brands of green acrylic paint (whatever I had one hand from the very old craft paint sitting in the drawer to Yellow Green Heavy Body Acrylic by Golden) and topped it off with a watercolor wash of green from my Prang set. It gives a very textural effect. Love it!
Cookie cutter slides

This print was accomplished by using Titanium White Fluid Acrylics by Golden applied with a circle cookie cutter and using a credit card to pick up the paint and slide it down the piece in a dragging fashion. I like the more organic nature of these circles, imperfect and subtle.

This overprint uses a flowery stencil from Crafters Workshop www.thecraftersworkshop.com/. It has a rather striped effect which I find very interesting. I had used a brayer and just ran a streak of teal down the piece.


What kinds of textures and other effects can you obtain using the fabulous "gelli" method? My mind is overflowing with ideas and things I want to try next. And the beauty of this is that it works on paper or fabric, your choice. Either one works beautifully with the gelli printing techniques. 

Wednesday, April 25, 2012

More Gelli Prints

Ingrid's Bubbles

Gelli Plate Printing is just simply too much fun! I love the squishiness I can engage in while making these mononprints. I've shown some examples before but didn't really go into detail about the process, so here goes. There are two options with this technique, buy your own plate made by GelliArts, which is my preferred method because it is reusable , durable, and stores at room temperature, or make your own, which may be less costly but is time-consuming, somewhat frustrating, and generally not as successful for the kind of impromptu work I do. You  do store  those in the refrigerator. You have to prepare your gelatin surface several hours before (the day before is best I've found) and with the handmade gelatin surface, you ruin the risk of it breaking.  Mine did and while I'll say it wasn't the end of the world, the cracks made for interesting texture in my prints, once it started to crack there was little I could do to stop that from spreading. And of course, those cracks are permanent and will appear in all of your successive work. The only way to avoid it is to make another plate. Again, while not hard to do or expensive, I fear I'd lose my creative edge while making another batch.

Learn about and order gelli plates at their website, www.gelliarts.com, and I'd encourage you to read their blog to learn more about this highly creative activity, or watch a YouTube video at www.youtube.com/watch?v=GRg1YQFi-pg. You can just do a search on YouTube and you will find a wide variety of video how-tos on this fun and rewarding technique.

Here are some images of gelli prints, just to entice you...


I used a variety of paints, cheap leftover acrylics, watercolor, heavy body fluid acrylics, anything goes. I did find that the paint I preferred was directly tied to the consistency of my gelatin surface. The thicker paint was a little harder to use on my handmade surface if it wasn't allowed to set up overnight. 

Overprinting adds color
I used stencils and stamps, kitchen utensils, freezer paper masks, feathers, shells, cookie cutters, any kind of marking tools I could find to imprint into the painted surface. You just don't want to cut into your surface and damage it. I found that if the gel was not properly prepared, my metal cookie cutters were more risky than with the manufactured surface. Can you tell I liked the prepared gelli plate? Yep. Gave me the consistency I was looking for with the product so that I could focus my attention on the creative aspect. And creative it is!  I've always been attracted to color and mess (was i a mud-pie maker as a child? Do you really need to ask?!) And of course with this technique, the more I played, the more I played. Dinner? Can you say take-out? 
Circle cookie cutter
Can you find the break in the gelatin on this print?
More cracks!! 
Coaster imprinted onto painted surface


Sunday, April 22, 2012

Sketchbook Challenge Practice Online Class

Practice 2
 I signed up for an on-line class with Jane Davies related to the Sketchbook Challenge Project. Here is one of my practice sheets that I did today riding in the car on the way back from Sedona on bumpy I-17. The topic for week #2 was circles.

Information on Jane's online class is available at http://janedaviesstudios.com/workshops/online-workshops

Saturday, April 21, 2012

Zentangles


Zentangles #1 In Class
This is my first official Zentangles done in a class taught by Certified Zentangles Teacher Kitty at Frenzy Stamper in Scottsdale. www.frenzystamper.com It features four traditional Zentangle patterns, Crescent Moon (center), Static (left of center), Printemps (far left) and Hollibaugh (far right).

I have so far purchased five Zentangle books, Inspired by Zentangles: Fabric Arts, Quilting, Embroidery and Zentangle 4, both by Suzanne McNeill, Time to Tangle with Colors by Marie Browning, Yoga for Your Brain: A Zentangle Workout by Sandy Steen Bartholomew, and Zenspirations: Letters & Patterning by Joanne Fink. All are published by Design Originals and are available through Amazon or at www.d-originals.com.

My second design was also done in class and features several Zentangle designs, including Rain, Rick's Paradox, Floorz, Knightbridge, Bales, and Keeko.

Zentangles #2 In Class 
Here is my final tile, which is what the official papers that Zentangles are created on. They are 3 1/2" by 3 1/2" square and are delightfully small so that they can be easy transported and worked on spontaneously as time permits. I love that feature. I did this tile later at home so that I could practice more. I get Zentangle inspired designs delivered daily through www.tanglepatterns.com, if you, too, are in interested in receiving patterns.

Zentangles #3 At Home Later
I love it! One word of caution though, it is very addicting. I couldn't sleep because I enjoyed it so much that I couldn't stop and go to bed, and then I couldn't sleep because new ideas kept popping into my head. And after a sleepless night, I was ready to go for more...

Friday, April 20, 2012

Alcohol Inks

Today I played with Adirondack Alcohol Inks and painted washers from the local hardware store. The larger washers are 15 cents each, such an expensive supply to purchase, although if you are lucky, you may find some out in your garage tool box (where I found the smaller ones).

I just dabbed the alcohol inks onto the washers after using the scrapbooking adhesive to hold them in place temporarily to the silicone crafting sheet so that their escape attempt wouldn't be successful. Both the applicator and the adhesive are shown near the bottom of the photo.

For more information on this technique, here is a link to the YouTube video that I viewed that was my inspiration. www.youtube.com/watch?v=YiWFdgL1yfw


I'm gearing up to work on my Inchies for the Art Unraveled 2012 Inchie Swap and may use rusting as my technique of choice. I'll add these to my Inchie stash for later. If you are not familiar with Art Unraveled, check out www.artunraveled.com for information on the 2012 workshops. This will be my fourth year to attend this wonderful mixed media retreat here in Phoenix which features teachers like Jane Davies, Jane LaFazio, Melly Testa and Ruth Rae.

For this technique, I applied alcohol ink to an ink jet transparency sheet and "smooshed" it around. I only used three colors in this top photo.  Eggplant, ginger and my personal favorite, caramel. Again, I am stash-building for my rusting projects.

 I've added Terra Cotta to this sheet and have dropped circles of ink onto the transparency sheet here. To watch the You Tube video on this technique see http://www.youtube.com/watch?v=PgKrZDX4PBE

This capture is when I have made the 3rd in the series of alcohol inks on ink jet transparencies. I have added both eggplant and denim to the other colors I used previously to obtain this darker image.

Thursday, April 19, 2012

Gelli Plate Prints

Using Heavy Body Acrylics by Golden
Here are photos of my Gelli Plate prints. I love the Gelli Print technique! It is opening new doors of creativity for me.
My First Using Golden Heavy Body Acrylics
My Favorite

Faux Script Etched In


Crafters Workshop Stencils (Gears)

Crafters Workshop Stencils


Crafters Workshop Stencils

Kitchen Utensils and Stencils

If you to are interested in gelatin plate printing, there is an ideal tutorial through the Sketchbook Challenge by Leslie Tucker Jennison at http://sketchbookchallenge.blogspot.com/2011/05/gelatin-plate-printing-tutorial.html. She provides you with step-by-step instructions on making your own gelatin plate and how to get successful prints every time. I would highly recommend this tutorial for anyone who is interested in this technique.It is so freeing and so fun and takes so little time, effort and materials. Great fun! Everybody should try it.

If you'd rather, you can purchase Gelli Arts Gel Printing Plates. They are already prepared "plates" available in  6" x 6" or 8" x 10". They can be purchased online at http://www.gelliarts.com/. There is a video on that site that is worth watching.

While I did try several paints varying from the more expensive to the less, I found that I liked the Golden fluid acrylics and I loved Heavy Body Acrylics by Liquitex best. I tried a variety of household utensils, anything that wasn't pokey or sharp at the tip will work so that it doesn't damage the gelatin, but I'm so anxious to spend more time with this technique and experiment with stamps, feathers, other organic materials and such. My works posted above are made with white muslin, but I envision organzas, hand-dyes, commercial prints, a wide fabric selection, more stencils. I love Crafter's Workshop stencils as you can see.

I loved using the hard rubber brayer to move the paint around after I applied with with the foam brush, but did quickly learn that multiple trips back and forth across the surface of the gelatin made for more color smearing. If you don't want your color moved around so much (you run the risk of it getting muddy), make fewer paths and consider going in one direction only.

But all in all a lovely, creative day.

Tuesday, April 17, 2012

Rusting Reveal

Today is the day for the RUA Rusting Reveal. Here are a few selected shots from the reveal.
Wanda's Best of Class 

Wanda Again

LaVon's Horseshoe Wrap

Thursday, April 12, 2012

Rusting Info

Last night my friend and rusting collaborator, Sherry Drzal, and I gave a presentation on rusting to our mixed media group and I'm including some of that information in this post. First some websites for your consideration...

www.prairiefibers.com/Rust%20Dyeing.htm
www.hobbyfarms.com/crafts-and-nature/rust-dyeing.aspx
thenaturalsurface.blogspot.com
fabricfolliestwo.com/2007/02/14/dye-your-fabric-with-rust-tutorial/
naturaldyeing.ning.com/group/rustdyeing

http://rust-tex.blogspot.com/2008/07/question-and-answer-rust-dyeing.html
www.artvango.co.uk/products/techniques/iron-rust-dye.html

And now for safety considerations. We encourage you to give some serious thought to these recommendations:


USEFUL INFORMATION WHEN RUST DYEING


 WEAR GLOVES (Rust stains!)

 Rusted fabric is NOT ARCHIVAL. It will continue to rust. The suggestion is made that you need to spritz your projects made with rusted fabrics with a solution of 1 tsp baking soda to a quart of water at least once a year. Think wall hanging, not bed quilt.

Don’t use rusted fabrics in anything you plan to wash repeatedly.

Use old needles and old sewing machines. Rust will dull your needles and you don’t want rust to get started in your machine. Maybe hand sewing?

Use an old iron like from Goodwill. You don’t want to get rust on your good iron. I sandwich my fabrics with an old press cloth even when using an old iron. It could get scratched.Wear old clothes and an apron and gloves (Can’t say that enough). I learned the hard way. Rust is hard to get off  the fingernails and clothes.

Never use utensils from your kitchen if you don’t plan to dedicate them to your art after use.

Wear a mask so you don’t breathe in the dust. Hard on the lungs.

Check out websites for more safety information.  

Wednesday, April 11, 2012

Mixed Media Meeting

 This was the Great Paper Exchange 2012 and members agreed everyone had outdone themselves. We made ten packages with twelve sheets of all kinds of paper to be used in mixed media projects. Dyed paper bags, stitched sheets, stamped papers, painted papers, cut out images, decorative papers, more than we could ever imagine. Papers with Zentangles, flocked wallpaper, embossed toilet paper (my personal favorite), musical notes, old engineering magazines, architectural renderings...


This bottom photo is Diane showing us her Zentangles she is preparing to quilt. Such diversity amongst the group. I didn't know that little pieces of paper could be such fun!