Friday, May 4, 2012

Mellow Yellow

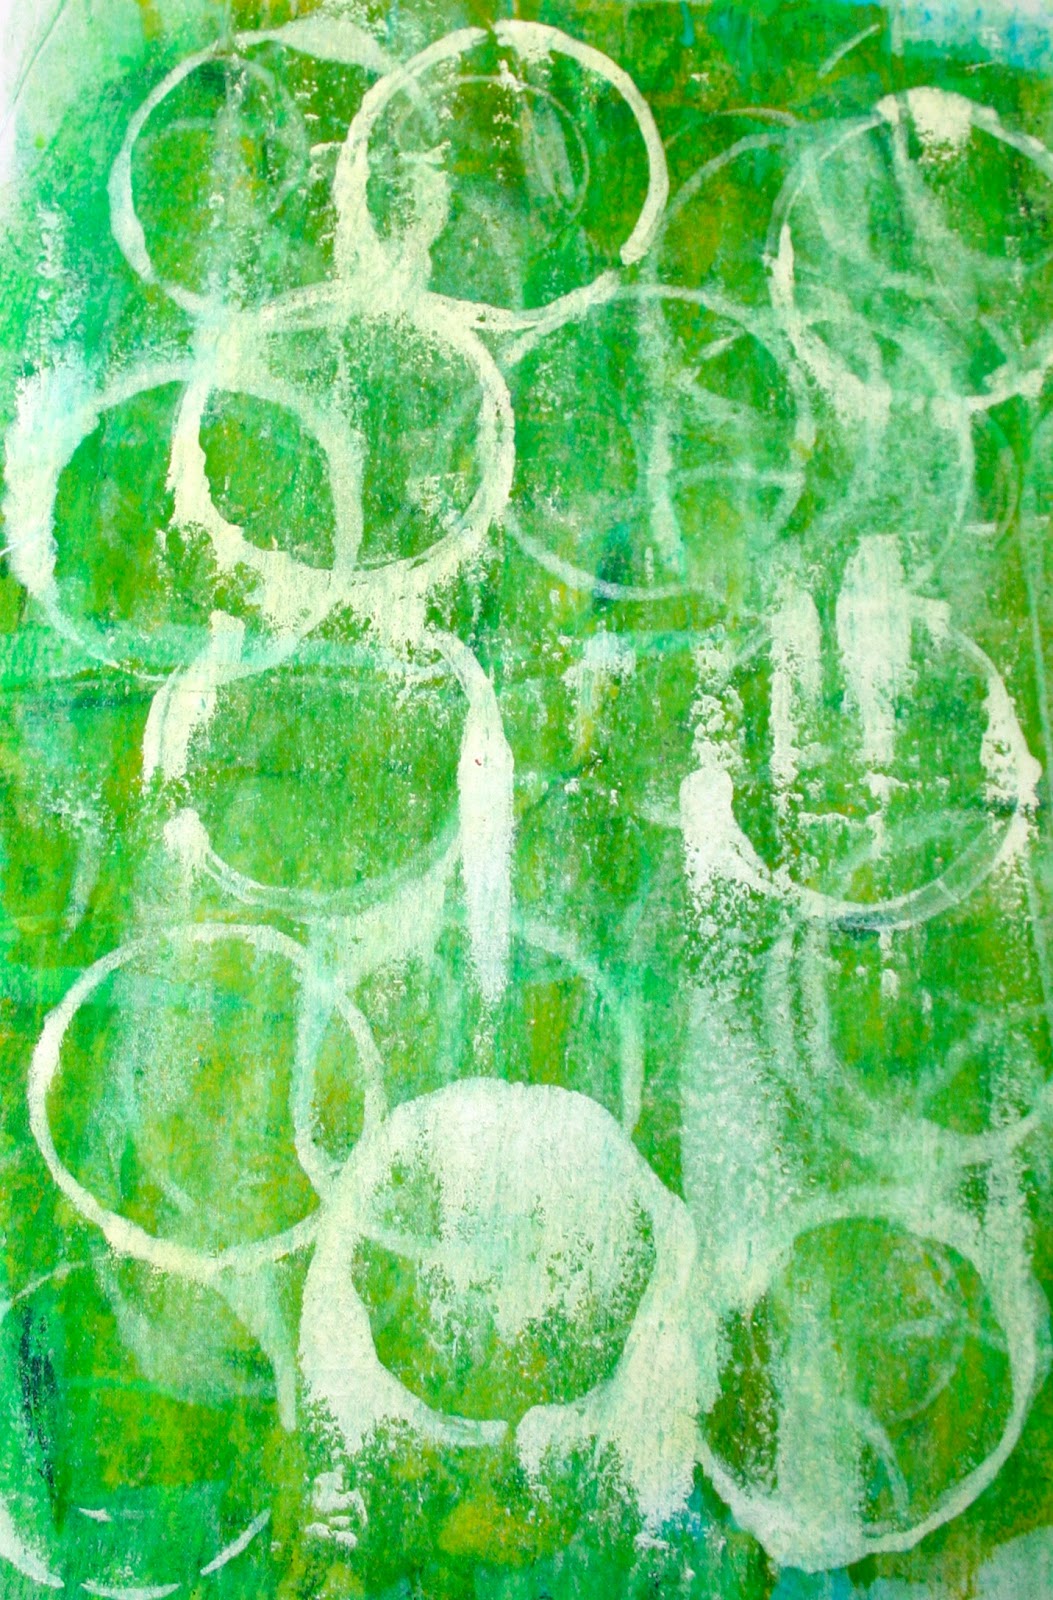
The circles in this piece were created with old paper towel rolls dipped into paint. You can use truly anything to create designs on your fabric or paper. I rarely use yellow in my work but decided to branch out into new colors as part of my experimentation.

Thursday, May 3, 2012

Gelli with Hardware Cloth

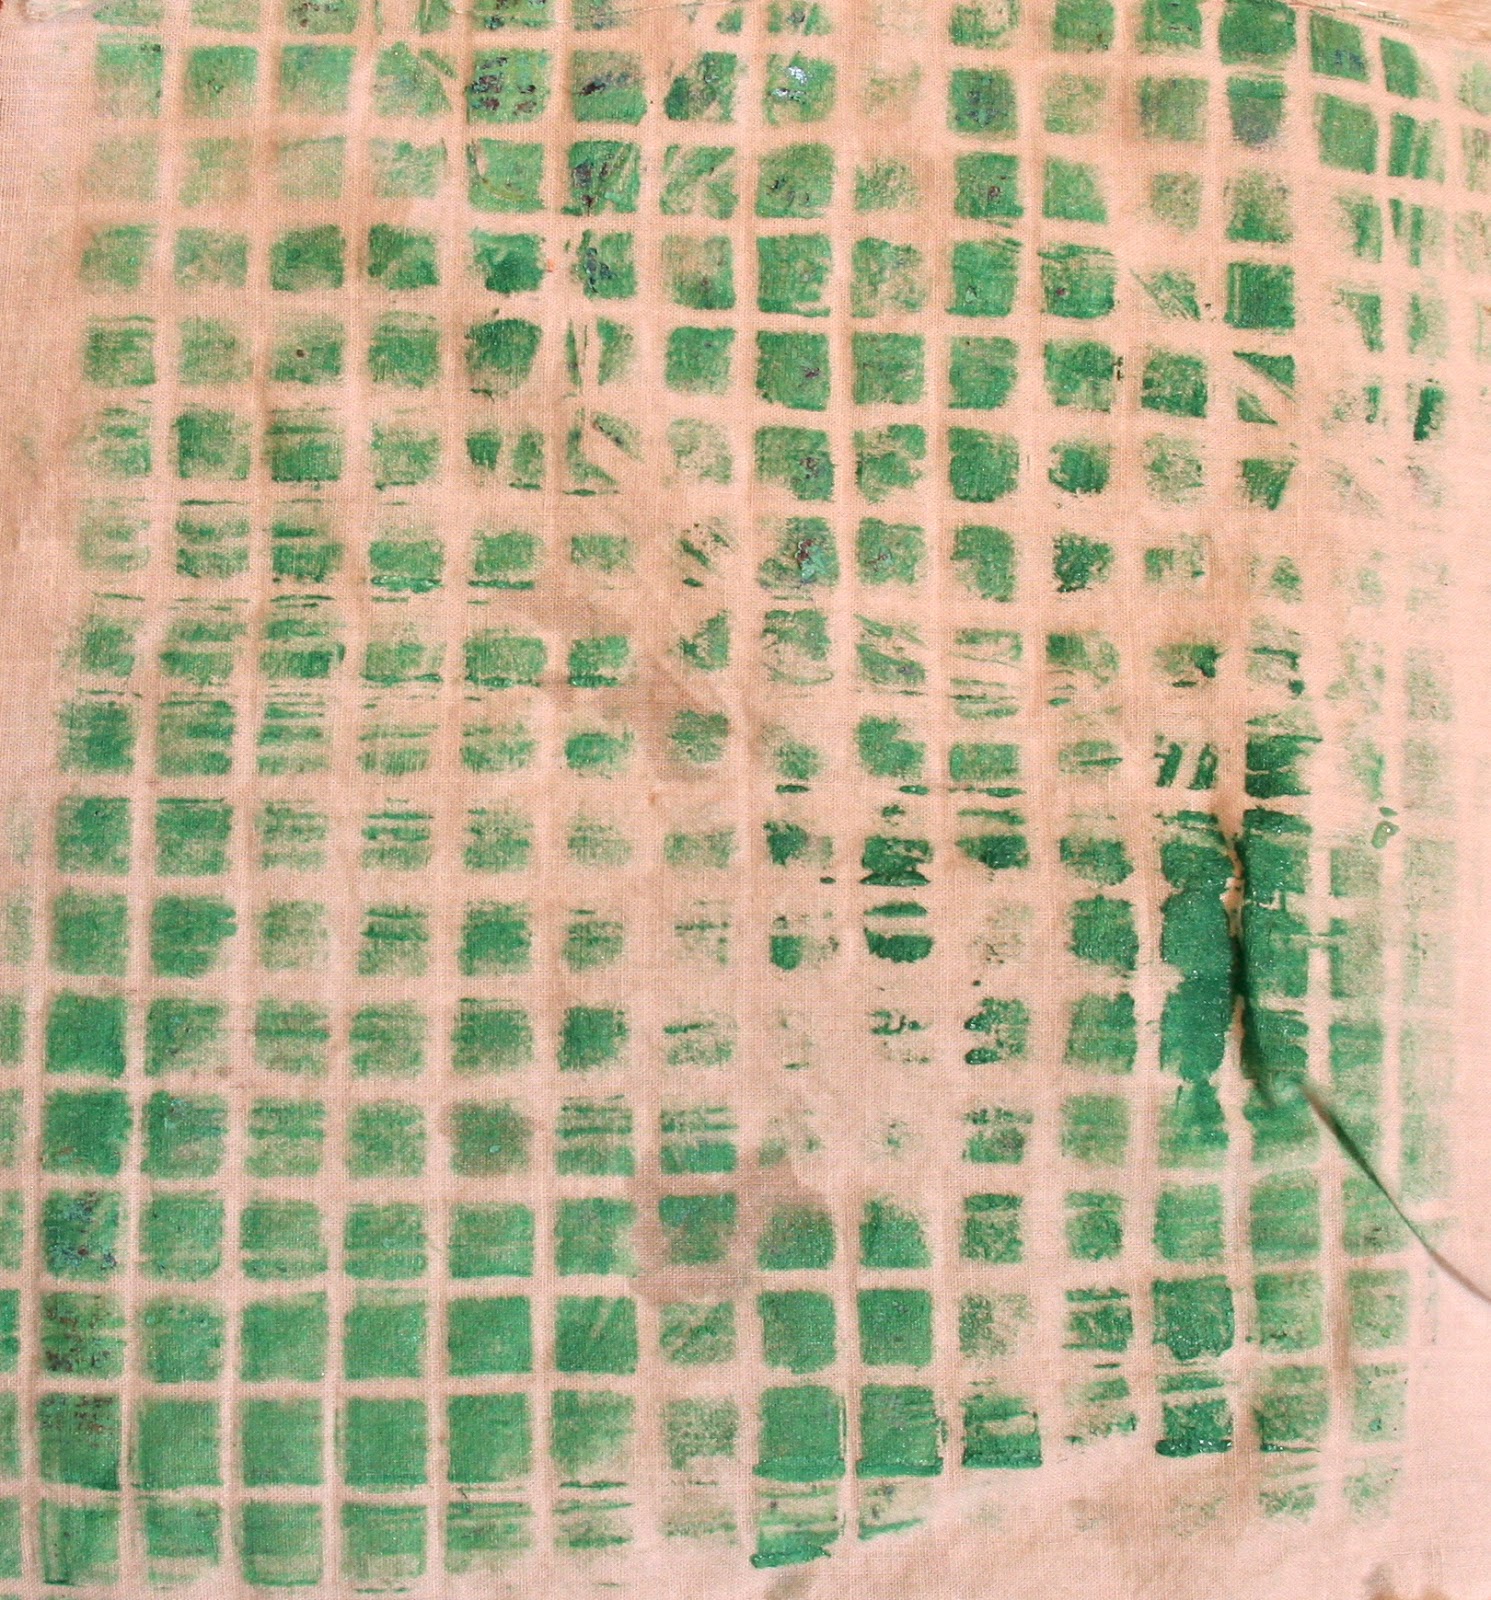
Gelli print with hardware cloth can result in interesting grid patterns and this is very well-suited to a deconstructing gelatin printing plate. In this instance I was using a homemade gelatin printing surface that was breaking down and developing cracks (one of the hazards of making your own surface). Not one to let go of a project before its time, I incorporated metals into it. Note: this is not something I would recommend trying with a purchased gelli plate. It is hard on the surface as you press the steel grid work into the gel striving to get a good print.

I pressed the grid quite firmly into the surface when applying the fabric (of course you could use paper) so that I would get a replication of the pattern.

By looking closely at the photo, you can see how the gelatin surface has cracked, but this only adds texture to my print.


Gentle firm pressure is needed to imbed the hardware cloth into the gelatin so that you can obtain a successful print. Hardware cloth comes in two sizes at my local hardware store and I tried both, liking them equally well since I did not have a project in mind with predetermined specifications as to size.

Plastic needlepoint canvas might work as well and not be as hard on your surface, but I wanted to push the limits and see what it would take. It really didn't seem to have too much effect on the gelatin itself, but again, it was a heavily used plate, not a fresh one and I would not try this on a manufactured one.

A pattern was created and a ghost print can be made as well. This is where you apply a second piece of fabric or paper to get a lighter print after you pull the original one. This can result in even more interesting geometric patterns.


Completed print
This is a completed print and I am quite satisfied with the results of my trials. You an see areas where the plate was cracked as well as the geometric pattern that was created with the hardware cloth.

The moral of this story is to not be afraid to try anything in your work, to experiment with different textures and materials, items from your kitchen or garage, anything goes. Inexpensive craft acrylic paint that I had leftover from a several-years' old project, combined with a piece of hardware cloth from the garage and an 8" x 10" square of muslin made for a great starting point for a mixed media project. I'm off to create now with my new fabric!

Tuesday, May 1, 2012

Egg Yolks

Yet another gelatin plate print.This one reminds me of egg yolks. This print is comprised of many layers of paint, free form brushwork, stenciling with paintsticks and it's circles of alcohol ink that make the yolk effect.

Monday, April 30, 2012

Paintsticks and Gelli Prints

Shiva paintsticks add surface design elements to gelli prints. Here I've added Shiva Artists's Paintsticks in copper from my Mini-Stick pack of copper, gold and silver metallic using punchinella. If you are not yet familiar with punchinella, it is also known as sequin waste and is shown here near the center right and also in the lower left as a series of holes. It is used as a stencil. The paintsticks develop a skin that has to be peeled off the surface each time you use them and you do have to wait 3-4 days for them to cure before you iron to heat set them, but they add great texture to your work. Shiva paintsticks can be obtained at local art stores, or online at www.jerrysartarama.com  or at www.lauramurraydesigns.com.


This is a work-in-progess. I haven't decided where to go from here. The white areas are where their were cracks or fissures in the gelatin plate I was using so I attempted to "camouflage' them using Shiva Artist's Paintsticks and a pouncer to apply the oil paint in a circular pattern. It certainly changes the flow of the design. What next? Maybe a watercolor wash over the top of everything? Let me know what you think. Like I said, it's a work-in-progress...

I used a dark teal inexpensive acrylic craft paint, added copper Golden Fluid Acrylic in copper and then applied a rubber stamp with a multi-circular design in the background. Then I filled in the white spaces created by the deconstructing gelatin plate with dots in Iridescent Turquoise and Iridescent Purple paintsticks.

Great beginning, don't you agree?


Sunday, April 29, 2012

Jelly Roll Quilt

Batik Jelly Roll Quilt
With a little help from a friend, I made this jelly roll quilt last week. My local quilt guild was having a jelly roll race this past week and although I was unable to participate, I made the jelly roll quilt start to finish in less then 4 hours. For more information on these jelly roll quilts, here is a link to a YouTube video on how you too can race like the wind to complete this quilt. It's too simple and fun.
www.youtube.com/watch?v=2bEJLnaZQOU
Just don't confuse this quilt with the popular gelli gel printing that I've been talking about recently. They are vastly different, although both are a lot of fun. 

Saturday, April 28, 2012

Ingrid's a Gelli Girl, too!

Ingrid's Gelli Gears
Visit Ingrid's blog for additional information on gelli prints at ingridvient.blogspot.blog. Her print is done on paper instead of fabric, and either one accepts the prints well. It's up to you to select your preferred medium. Mine has historically been fabric, but I 'm drawn more and more to mixed media work these days. I want to do it all.

Friday, April 27, 2012

Gelli, Gelli, Gelli

Another Gelli Print. This was done by my friend, LaVon Campos, today as we worked together using gelatin printing techniques. We made our own gelli surfaces from Knox brand gelatin and LaVon, although new to the process, was drawn in as much as I have been.

To make the gelatin surface, we got out a glass Pyrex baking pan (9" x 13") and put in 8 boxes of the natural, unflavored gelatin powder. Any brand will do. They are available at your local grocery store near the Jello. Next we added two cups of cold water (we put ice cubes in the water and then poured off the cold water without the ice, the same easy way I make Jello. We stirred this gently and well, trying to minimize bubbling. Next we added the two cups of almost boiling water and again stirred until the mixture was completely dissolved into a thick gel. We let this one set up overnight in the refrigerator so that it would be ready to go in the morning.


I've seen videos online where they took small strips of newspaper to dredge across the surface of the gelatin to remove the bubbles, but lucky for us, we did not need to do that.

With the glass pan of gelatin ready to go, we laid it in a bath of warm water temporarily to help it soften around the edges because we needed to be able to turn the pan upside down for it to drop onto our cookie sheet so that the sides would be available as well. Two tips: we ran a blunt knife edge around the sides of the pan to loosen it and we put a plastic garbage bag over the cookie sheet we were transferring it to. We did try the technique of putting plastic wrap in the Pyrex pan before making the gelatin, but from our experience, it was not as successful. I would forego that part of the process recommended by some. But, hey, if it works for you... We're in low humidity here in Arizona and that may have factored in.

And that is how the "make your own" process works. So far my own efforts to make the surface have been moderately successful, not that expensive, not that difficult, not that messy. Do I still want my own manufactured surface? Absolutely. I do spontaneous, impromptu pieces, on  a whim one might say. If I'm bored, if I have moments of free time, if the mood strikes me. I don't want to wait a day for my surface to chill and set up. I want to pull it out of the drawer and get to work creating. But that's just me... If you,, to, want a gelli plate, it is available at http://www.alteredpages.com/shop/Tools/Gelli-Gel-Printing-Plates.htm.

Circles made from paint bottle caps
For this print, LaVon, our first-timer, grabbed the paint bottle lid and started experimenting with what effects she could achieve. You go, girl! She ran the first print, let it dry temporarily before going back in with a dark teal craft acrylic and whooping it up.

The two white slashes across the piece near the top were created by the gelatin itself as it started to crack. but she simply incorporated that into her design and went on forward. This is one of the drawbacks of making your own surface, but as long as you handle it creatively, it can become a very effective design element.  

This was one of LaVon's early pieces. She used a stamp on the surface to create the diamond effect. By rotating the stamp as she moved across the surface, she was able to create a sense of movement. I think it is perfect. Soft and light, not heavy-handed at all. A soft light touch with the pouncing of the stamp is very effective. Some of the paint colors she used were Tulip magenta, FolkArt school bus yellow, Delta truly teal, and FolkArt kelly green. The inexpensive craft paint you may already have leftover from other projects, or the kinds you can find on sale locally work as well as the more expensive ones you can find at your local art supply. And who doesn't have leftover paint around?  


This color combination is achieved by many soft layers of print on the fabric, creating a multidimensional effect. All this from inexpensive muslin that we purchased from our local craft store at a discount. And as a note, we did prewash our muslin because it was not PFD (Prepared For Dyeing). We paid about $3 a yard and got many, many prints in a couple of hours.


Paintstick Rubbing Plates
This piece features Metallic Blue Sapphire, Metallic Plum and Metallic Emerald Green FolkArt paint on a circular-patterned rubbing plate from www.lauramurraydesigns.com. When finished, this piece as well as all of the others was left to dry overnight and then heat set with a dry iron  (no steam) . A muslin press cloth or "Goddess Sheet" from www.mistyfuse.com was placed on both sides of the fabric and it was thoroughly ironed from the back side first and then from the front side for about 10-15 seconds to set the paint color. Enough heat has to build up to permanently set the paint. The press cloth can help any excess paint that does not absorb into the fabric. As a tip, I usually check the surface for any mini-globs of paint and scrape those off with a palette knife before I go to the iron.


You can see plate cracks on this piece and also the remnants of loose threads that have been painted and then the thread has been removed. If you don't like that effect, be use to check your fabric sheet for stray threads before you begin to work on it. I myself like what it adds.


This abstract piece is very effective with its swishes and swirls just finger-painted on. FolkArt's Kelly Green and Americana's Cadmium Yellow are featured. While you can use all kinds of instruments for painting, sometimes the tools you were born with are the perfect ones to use. You can see more finger painting ideas from Crayola at www.crayola.com/educators/techniques/fingerpaint.cfm. I know, you're saying, "Do we rally need to look up techniques to know how to do something we've been doing all of our lives, but the internet is such a valuable resource, I just can't overlook it. Just google "finger painting" and see what you come up with. You don't even need to search your kitchen, garage, or at closet for utensils, just use the ones you have with you all of the time. 


This piece is delightful as is or could be overprinted if you want more color or movement. The possibilities are endless. And you'll never want to stop. 

Thursday, April 26, 2012

Gelli Plate Prints -- Overprinting


I can't tell you how excited I am about these gelli plate prints. Boundless energy and excitement! Whoo Hoo!! I have more samples to share with you and these involve overprinting, the process  of painting or stamping or stenciling over the top of images already made. Some may be the result of recycling pieces you weren't so fond of, or pieces that "just need a little extra" or even your favorite pieces you like so much you want to experiment with more. I did have a chemistry set as a child,I think I'm harkening back to those days. I want to play more and more often and with more stuff. Can you relate?

I like to let these pieces just evolve. Here are a few examples...
Sherrill Kahn stamps and a goddess stamp on right
This piece features limes and turquoises added over a piece I did yesterday. It has Sherrill Kahn stamps, I love her work. It can be seen at www.impressmenow.com/. Several years ago I was fortunate enough to take a 5-day workshop with Sherrill in Sedona where i learned many of her techniques. 
Can you see the crack in the plate on the print?


These pieces too have been overprinted to achieve a more abstract effect. Can you see the cracks in the plates? I'll leave it up to you to decide whether that is an effect you like or not. I think it depends on the piece. It doesn't bother me in either of these prints, but it was more obvious in the original piece and I want you to see how it can be camouflaged by working it into the over all design thus making a more successful final piece.
Watercolor wash applied over all
This green piece is one of my personal favorites. The base was a light limey green which I decided needed more definition. I added more circles using cookie cutters and stencils, many different shades and brands of green acrylic paint (whatever I had one hand from the very old craft paint sitting in the drawer to Yellow Green Heavy Body Acrylic by Golden) and topped it off with a watercolor wash of green from my Prang set. It gives a very textural effect. Love it!
Cookie cutter slides

This print was accomplished by using Titanium White Fluid Acrylics by Golden applied with a circle cookie cutter and using a credit card to pick up the paint and slide it down the piece in a dragging fashion. I like the more organic nature of these circles, imperfect and subtle.

This overprint uses a flowery stencil from Crafters Workshop www.thecraftersworkshop.com/. It has a rather striped effect which I find very interesting. I had used a brayer and just ran a streak of teal down the piece.


What kinds of textures and other effects can you obtain using the fabulous "gelli" method? My mind is overflowing with ideas and things I want to try next. And the beauty of this is that it works on paper or fabric, your choice. Either one works beautifully with the gelli printing techniques. 

Wednesday, April 25, 2012

More Gelli Prints

Ingrid's Bubbles

Gelli Plate Printing is just simply too much fun! I love the squishiness I can engage in while making these mononprints. I've shown some examples before but didn't really go into detail about the process, so here goes. There are two options with this technique, buy your own plate made by GelliArts, which is my preferred method because it is reusable , durable, and stores at room temperature, or make your own, which may be less costly but is time-consuming, somewhat frustrating, and generally not as successful for the kind of impromptu work I do. You  do store  those in the refrigerator. You have to prepare your gelatin surface several hours before (the day before is best I've found) and with the handmade gelatin surface, you ruin the risk of it breaking.  Mine did and while I'll say it wasn't the end of the world, the cracks made for interesting texture in my prints, once it started to crack there was little I could do to stop that from spreading. And of course, those cracks are permanent and will appear in all of your successive work. The only way to avoid it is to make another plate. Again, while not hard to do or expensive, I fear I'd lose my creative edge while making another batch.

Learn about and order gelli plates at their website, www.gelliarts.com, and I'd encourage you to read their blog to learn more about this highly creative activity, or watch a YouTube video at www.youtube.com/watch?v=GRg1YQFi-pg. You can just do a search on YouTube and you will find a wide variety of video how-tos on this fun and rewarding technique.

Here are some images of gelli prints, just to entice you...


I used a variety of paints, cheap leftover acrylics, watercolor, heavy body fluid acrylics, anything goes. I did find that the paint I preferred was directly tied to the consistency of my gelatin surface. The thicker paint was a little harder to use on my handmade surface if it wasn't allowed to set up overnight. 

Overprinting adds color
I used stencils and stamps, kitchen utensils, freezer paper masks, feathers, shells, cookie cutters, any kind of marking tools I could find to imprint into the painted surface. You just don't want to cut into your surface and damage it. I found that if the gel was not properly prepared, my metal cookie cutters were more risky than with the manufactured surface. Can you tell I liked the prepared gelli plate? Yep. Gave me the consistency I was looking for with the product so that I could focus my attention on the creative aspect. And creative it is!  I've always been attracted to color and mess (was i a mud-pie maker as a child? Do you really need to ask?!) And of course with this technique, the more I played, the more I played. Dinner? Can you say take-out? 
Circle cookie cutter
Can you find the break in the gelatin on this print?
More cracks!! 
Coaster imprinted onto painted surface


Sunday, April 22, 2012

Sketchbook Challenge Practice Online Class

Practice 2
 I signed up for an on-line class with Jane Davies related to the Sketchbook Challenge Project. Here is one of my practice sheets that I did today riding in the car on the way back from Sedona on bumpy I-17. The topic for week #2 was circles.

Information on Jane's online class is available at http://janedaviesstudios.com/workshops/online-workshops